
Create this wonderful DIY Snowman Sign this winter for a cute project! It makes a fun craft for older kids or teens to make.
This post contains affiliate links. Please read our full disclosure here.
You might even use it as a gift for a hostess, teacher or neighbor!
Some simple supplies from the dollar store make this a fun craft to make this holiday season.

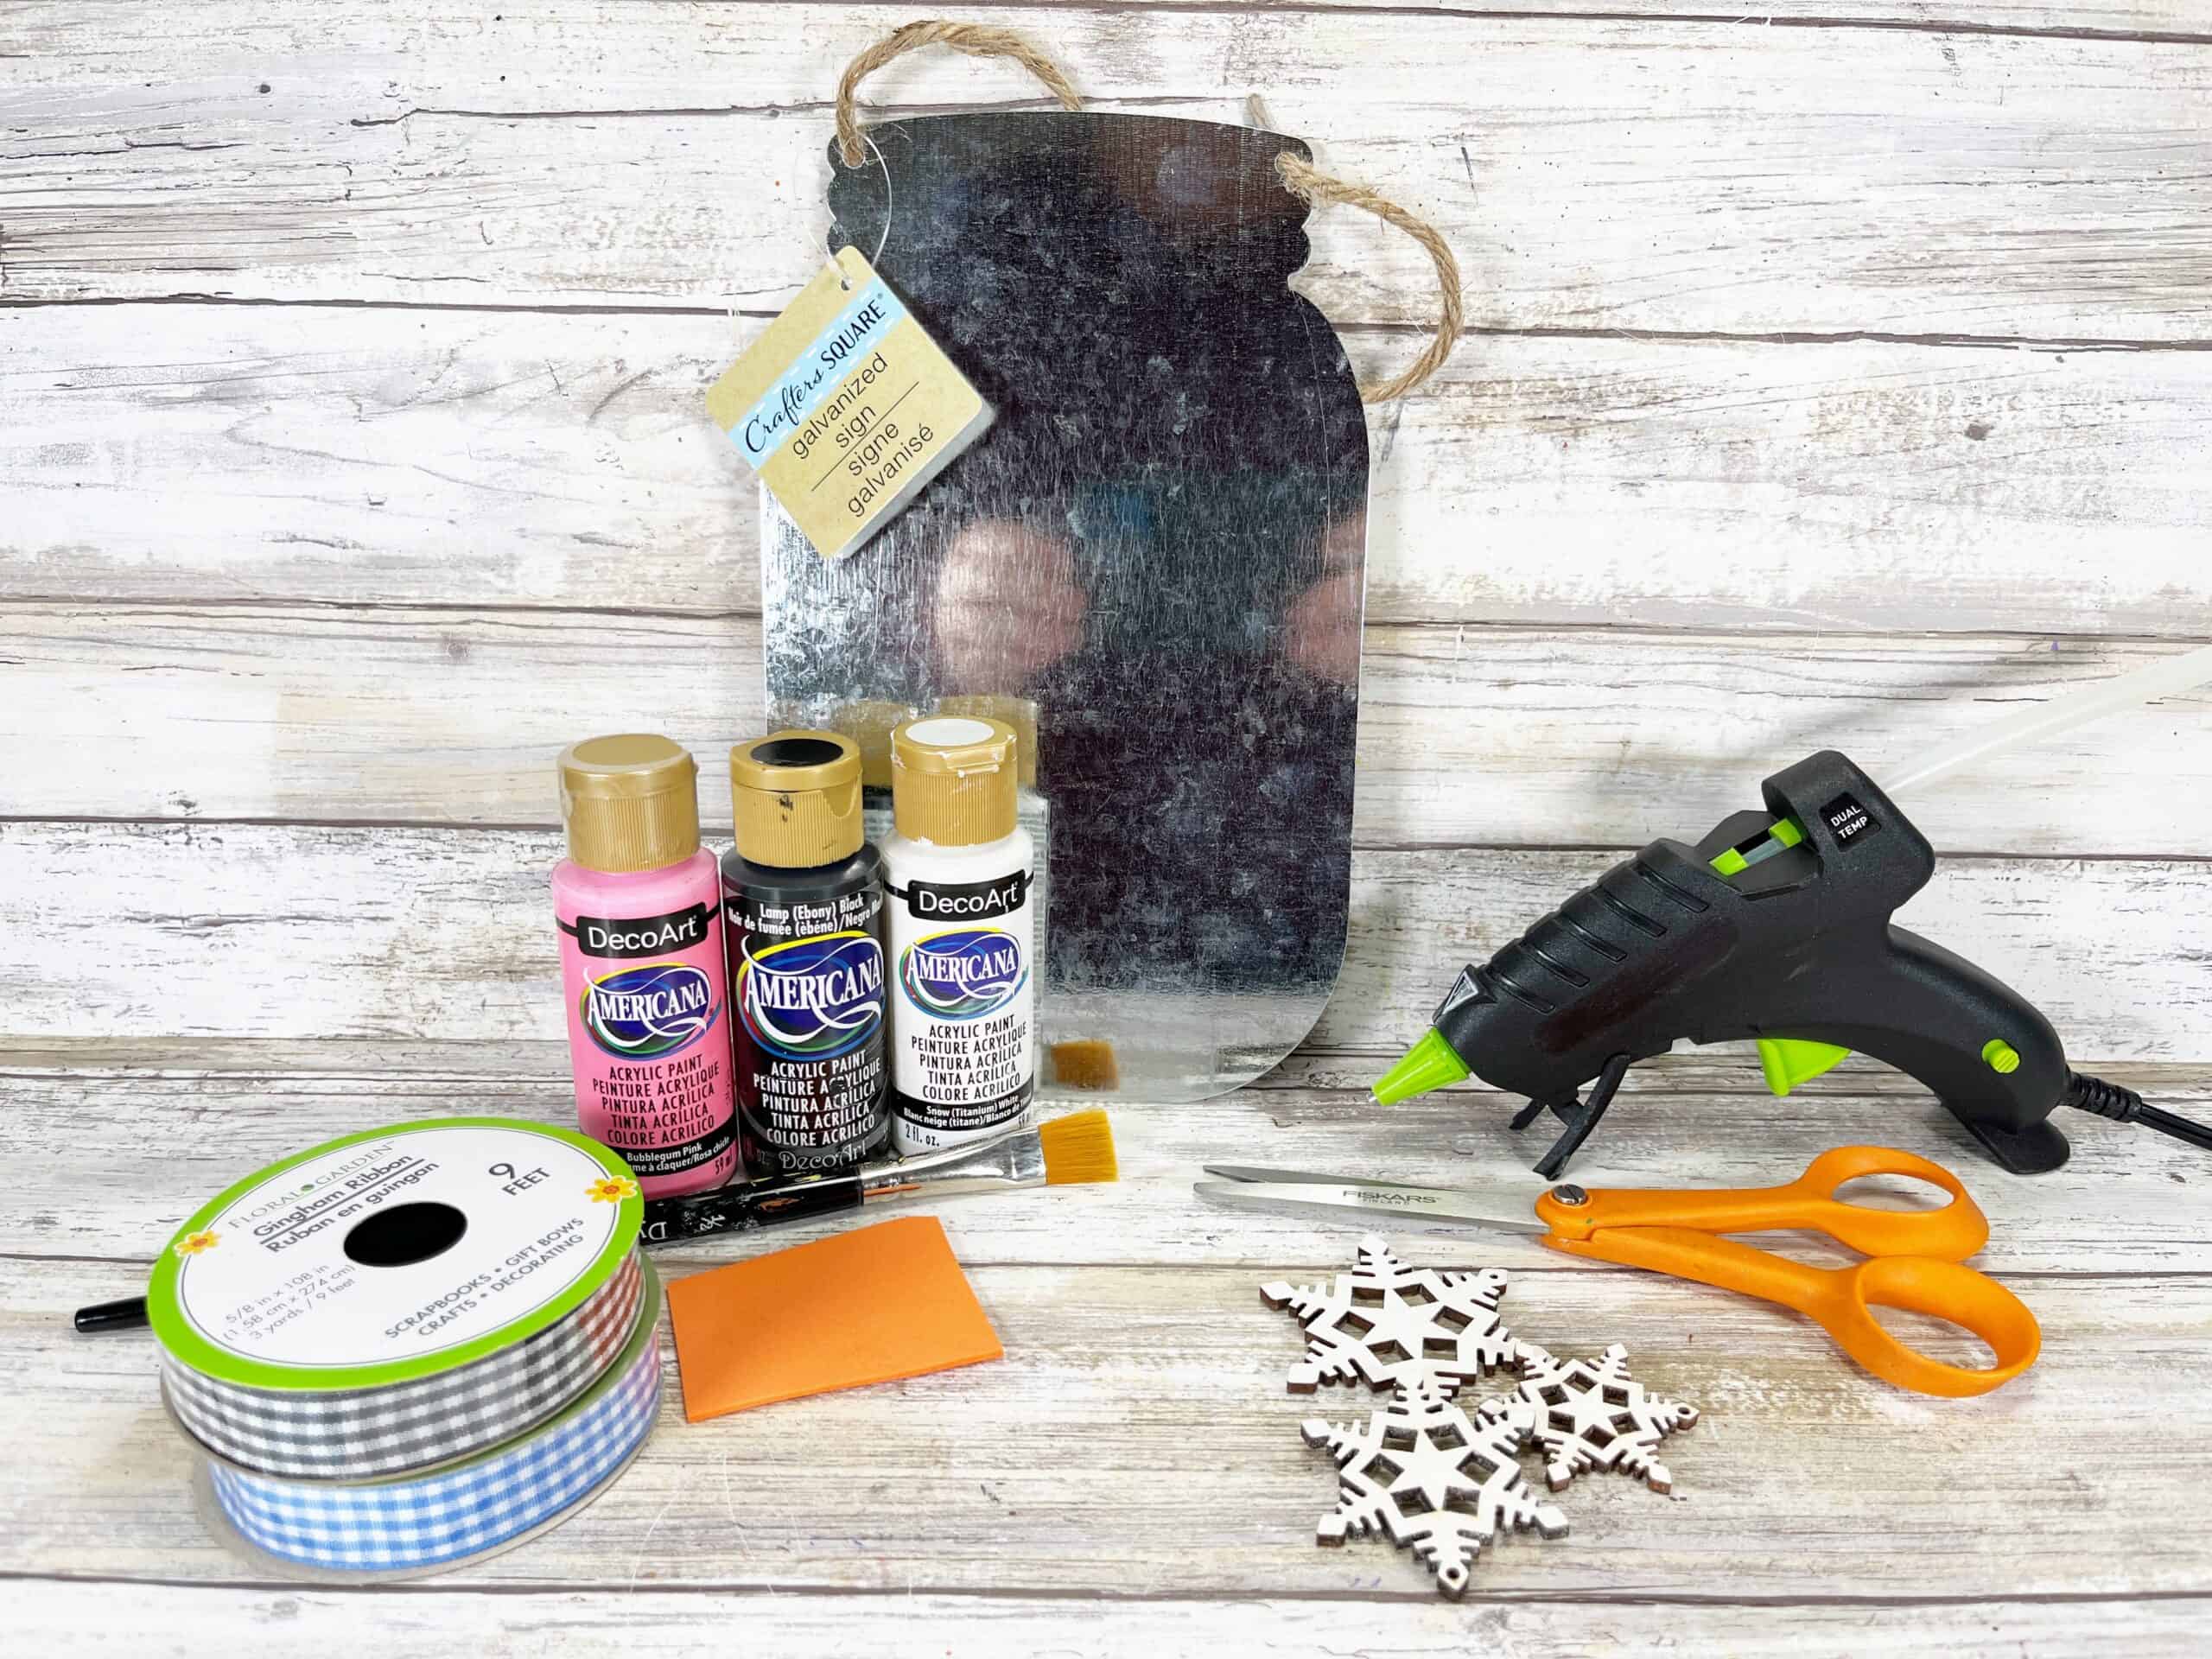
Materials
- Mason Jar Sign, Metal – Dollar Store
- Natural Jute Twine – Dollar Store
- Silk Pine Branch – Dollar Store
- Jumbo Craft Stick – Dollar Store
- Acrylic Craft Paint – White, Black, Pink, Orange
- Buttons, Large and Medium – Black
- Craft Felt Sheet, Light Blue – Kunin Felt
- Glue Gun and Glue Sticks – Dollar Store
- Paintbrush
- Sponge Dabber
- Scissors
- Ruler
Instructions
STEP ONE
Gather all supplies. Basecoat the jar portion of the metal mason jar sign with white acrylic craft paint. Let dry and apply a second coat, if necessary.

STEP TWO
Basecoat the lid portion of the metal mason jar sign with black acrylic craft paint. Let dry and apply a second coat, if necessary.

RELATED: DIY Christmas Gnome Crafts {to keep, gift or sell!}
STEP THREE
Using scissors, cut a jumbo wooden craft stick in the shape of a four-inch-long carrot. Paint the carrot nose with orange acrylic craft paint. Let dry and apply a second coat, if necessary.

STEP FOUR
Attach two large black buttons for eyes and the carrot nose with a glue gun and glue sticks.
Dip a sponge dabber in pink acrylic craft paint and pounce to create a cheek on the Snowman’s face. Glue seven medium black buttons to create the Snowman’s mouth.

STEP FIVE
Wrap natural jute twine around the lid of the mason jar sign, fastening at the front in a knot. Tuck a small silk pine branch in the twine and secure with a glue gun and glue sticks.

STEP SIX
Measure and cut two rectangles from light blue craft felt that are two inches wide by twelve inches long. Attach the felt scarf to the back left and right with a glue gun and glue sticks.
Flip Snowman over and tie the scarf, then secure with glue. To finish, trim any excess scarf and fringe the ends of the scarf with scissors.


All Done – Your Adorable Snowman Sign Is Finished!
Create this quick and easy Snowman to share with family and friends. A great craft project for tweens and teens to create on their own or with younger kids.

More Christmas Crafts From Tiny Tree:
DIY Christmas Wall Decor Ideas
20 DIY Boho Inspired Christmas Crafts
DIY Christmas Gnome Crafts {to keep, gift or sell!}
DIY Farmhouse Buffalo Check Wreath {Dollar Store craft!}
