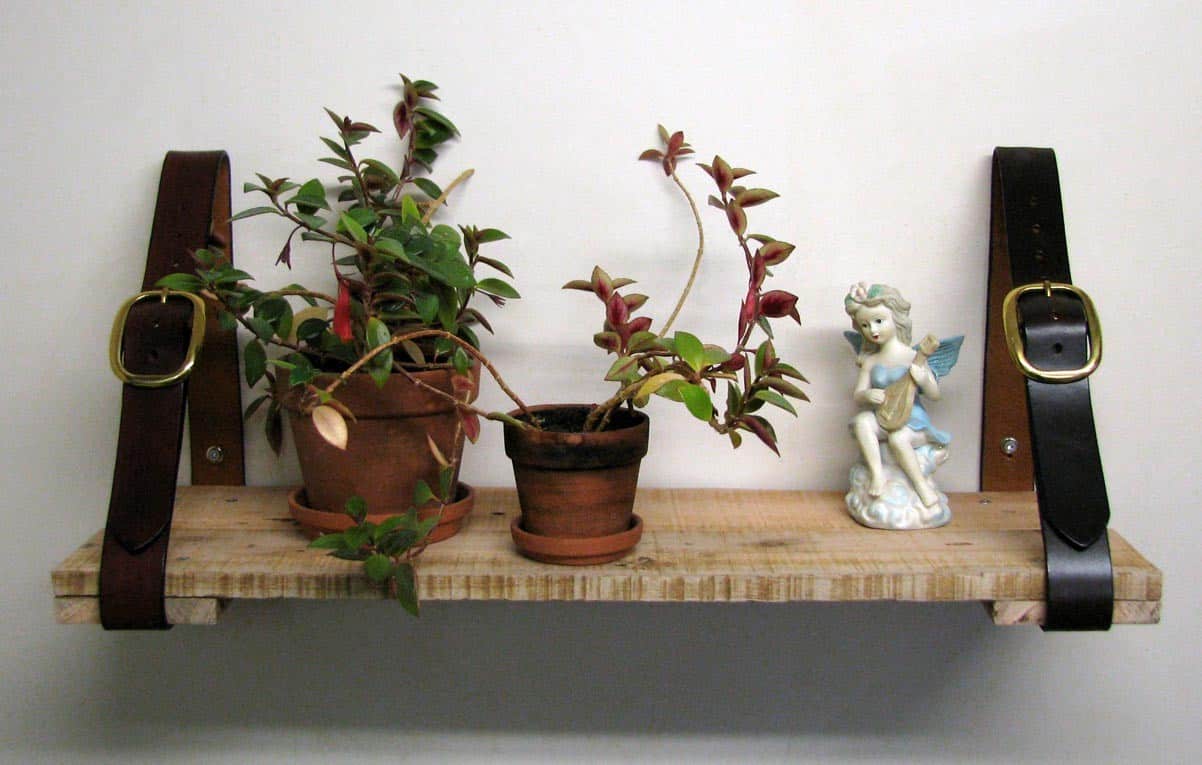
Pallets are everywhere, pallets are abundant and best of all- they are usually FREE! You can check places like Facebook Marketplace or Craigslist to see if anyone is giving them away.
This post contains affiliate links. Please read our full disclosure here.
Sometimes businesses such as hardware stores, furniture shops or garden centers will have them. You just need to ask.
There are so many cool things you can do with pallets, it’s really endless. There are small home decor projects, raised garden beds or diy patio furniture to be made! I hope you get excited about one of these cheap DIY pallet ideas!
Before we dive in, it’s important to know that all pallets are treated in some way or another. They are treated to prevent insect infestations and other natural contaminations. Most pallets are safe but you need to know what to look for.
Here is a quick guide:
- Inspect for Markings: Look for markings on the pallet wood. Most pallets have stamps or markings indicating the type of treatment they’ve undergone. Common markings include HT (Heat Treated), KD (Kiln Dried), MB (Methyl Bromide), and others. HT and KD markings signify safe treatment methods, while MB indicates the use of methyl bromide, which is toxic and should be avoided for indoor use.
- Check for Stains or Discoloration: Look for any signs of staining or discoloration on the wood. Chemical treatments often leave behind noticeable stains or discoloration. Avoid pallets with extensive staining, as they may have been treated with harmful chemicals.
- Smell the Wood: Take a whiff of the wood. Chemical-treated pallets may emit a strong chemical odor, indicating the presence of potentially harmful substances. If you detect a strong, unnatural odor, it’s best to avoid using the wood indoors.
- Examine the Wood’s Appearance: Inspect the appearance of the wood closely. Chemical-treated wood may appear overly shiny or have an unnatural sheen. Additionally, if the wood appears overly smooth or has an unusual texture, it could be a sign of chemical treatment.
- Research the Manufacturer: If possible, research the manufacturer or origin of the pallet. Some countries have stricter regulations regarding the treatment of pallet wood than others. Pallets from reputable manufacturers in countries with stringent safety standards are more likely to be safe for indoor use.
- Consider the Application: Think about how you intend to use the pallet wood. If you plan to use it for furniture or decor items that will come into direct contact with food or people, err on the side of caution and choose untreated or safely treated wood.
- Consult an Expert: If you’re unsure about the safety of the pallet wood, consult with a woodworking expert or a professional who can assess the wood and provide guidance on whether it’s safe for indoor use.
And once you know your pallet is safe for the way you’re going to use it, here is another quick guide on how to clean and prepare your pallet!
Certainly! If you’ve determined that the pallet wood is safe for indoor use, here’s a brief guide on how to clean it:
- Remove Surface Debris: Begin by removing any surface debris, such as dirt, dust, or splinters, from the wood. You can use a stiff brush or a vacuum cleaner with a brush attachment to effectively clean the surface.
- Wash with Mild Soap and Water: Prepare a solution of mild dish soap and water in a bucket. Dip a clean cloth or sponge into the soapy water and gently scrub the wood to remove any remaining dirt or grime. Avoid using harsh chemicals or abrasive cleaners, as they may damage the wood or leave behind residue.
- Rinse Thoroughly: After scrubbing the wood with soapy water, rinse it thoroughly with clean water to remove any soap residue. Use a separate clean cloth or sponge dampened with water to wipe down the wood and ensure all soap is removed.
- Allow to Dry Completely: Once the wood is clean, allow it to air dry completely before using it for your DIY projects or bringing it indoors. Place the wood in a well-ventilated area and allow sufficient time for it to dry thoroughly.
- Optional Sanding: If desired, you can lightly sand the wood after it has dried to smooth out any rough spots or imperfections. Use fine-grit sandpaper and sand in the direction of the wood grain to achieve a smooth finish.
- Apply Finish (Optional): Depending on your preferences and the intended use of the wood, you may choose to apply a finish, such as wood stain, paint, or clear sealant, to protect and enhance the appearance of the wood. Follow the manufacturer’s instructions for the chosen finish and allow it to dry completely before using the wood.
DIY Furniture Pallet Projects
Super Easy Pallet Couch from The Boondocks Blog

Outdoor Kitchen from Recycle Art

DIY Outdoor Pallet Swing from The Sorry Girls

Pallet End Table from Instructables

Pallet Desk

Rustic Outdoor Sectional from Style Me Pretty

Wood Bookcase

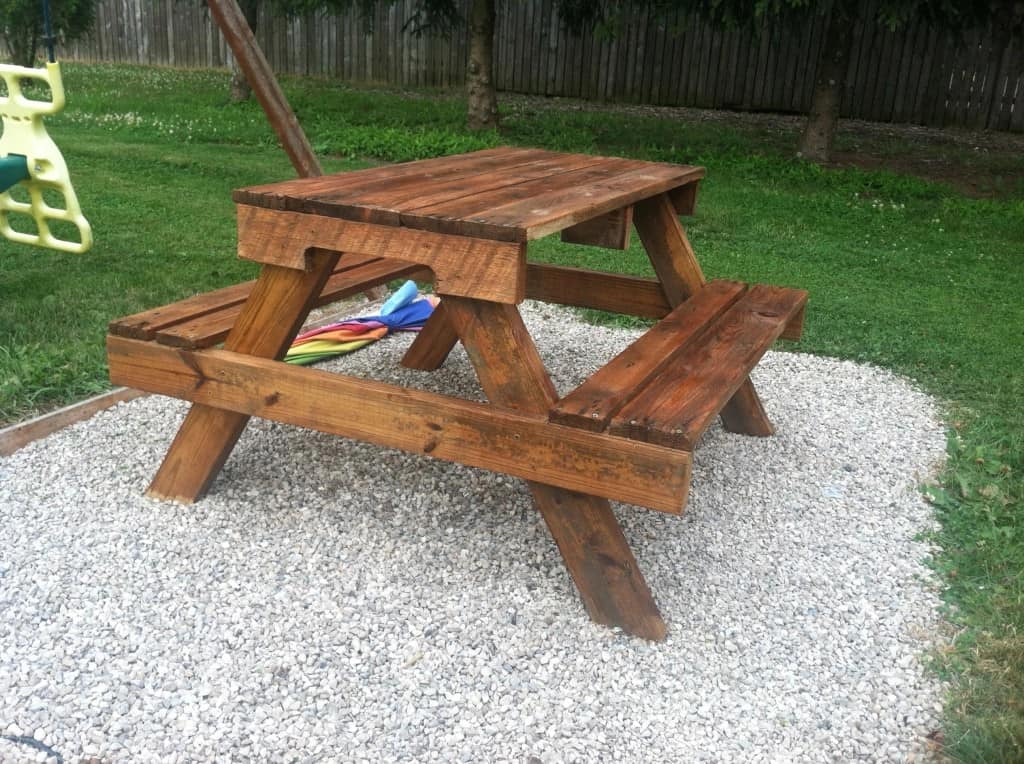
DIY Kids Picnic Table from Pallet Wood from Needles and Nails Blog
Pallet Daybed from Pretty Prudent

Pallet Kitchen Counter Chairs from 99 Pallets

Pallet Sofa from Funky Junk Interiors

Pallets Garden Party Lounge from Easy Pallet Ideas

DIY Outdoor Pallet Coffee Table from Southern Revivals

Pallet Accent Wall from Autodesk Instructables
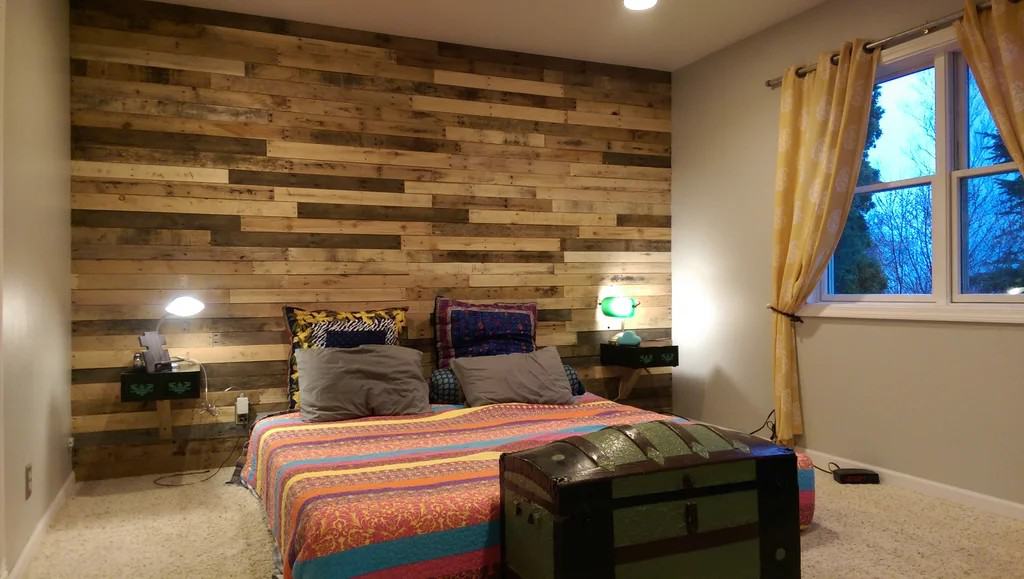
Pallet Wood Headboard from Autodesk Instructables

DIY Pallet Wood Swing Bed from The Merrythought

Outdoor Pallet Wood Sectional from Angela East

DIY Light Up Pallet Bar from Homestead Lifestyle

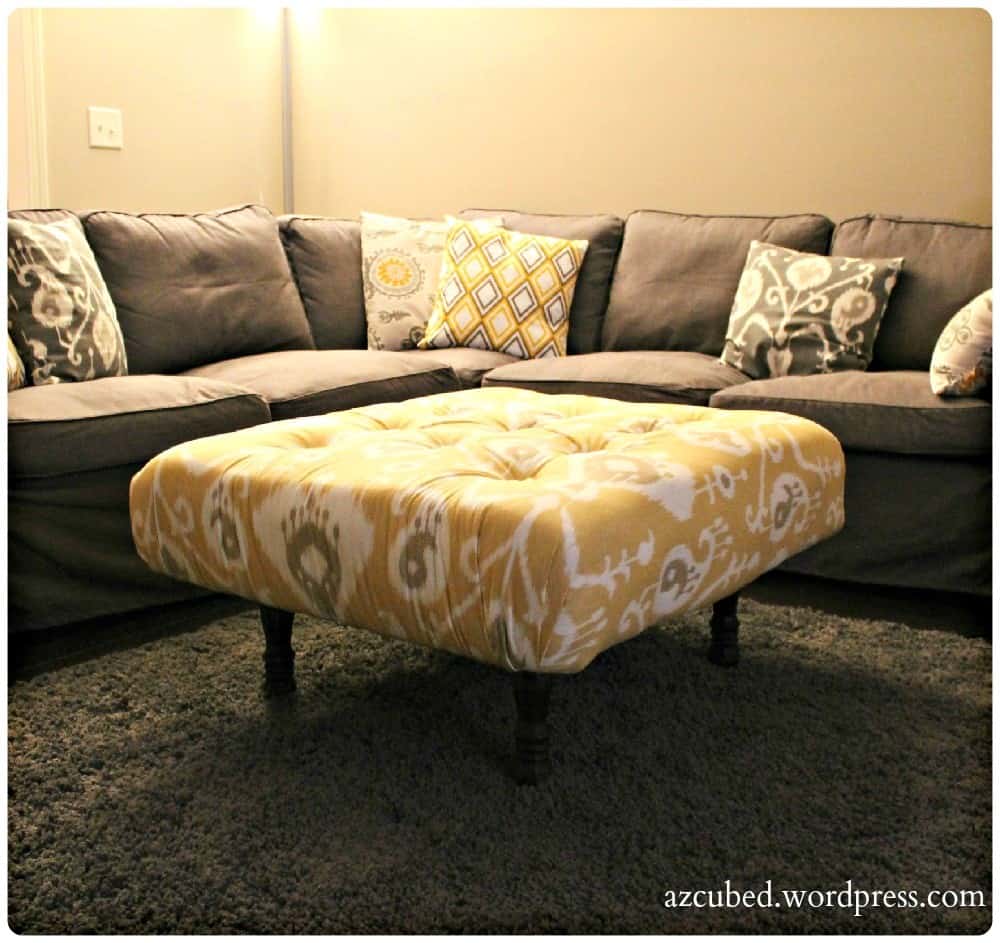
DIY Tufted Pallet Ottoman from Domestic Superhero
Pallet Farm Table Desk from Funky Junk Interiors

DIY Pallet Coffee Table with Hairpin Legs from Homed It

DIY Pallet Console Table from Klein Worth

Easy DIY Platform Bed from Shanty 2 Chic

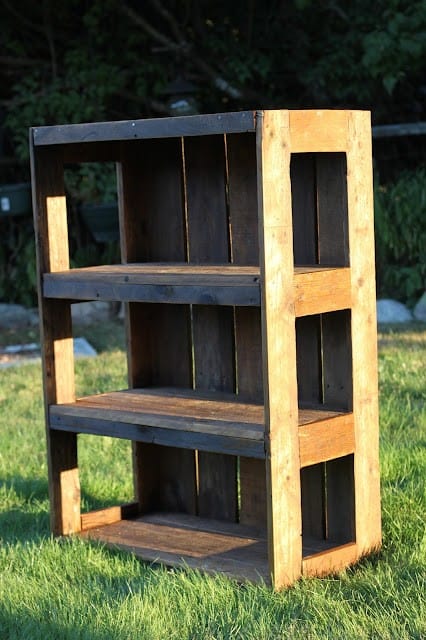
DIY Pallet Bookshelf from Made It With Love
Organization and Storage
Pallet Vanity With Shelves from Autodesk Instructables

DIY Wine Rack

Garden Pallet Wood Projects
Pallet Potting Bench from Better Homes and Gardens
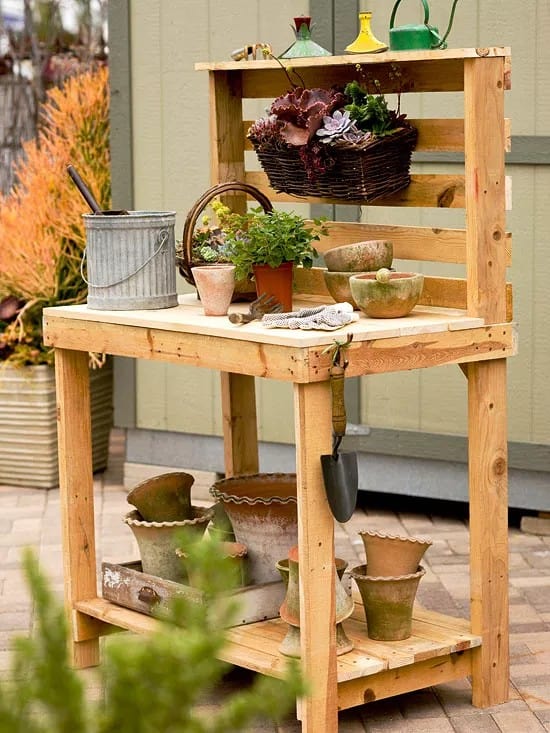
Pallet Planter from The Gingerbread House

DIY Succulent Pallet Table from Far Out Flora

Pallet Garden Perfect For Summer from The Country Cottage Chic

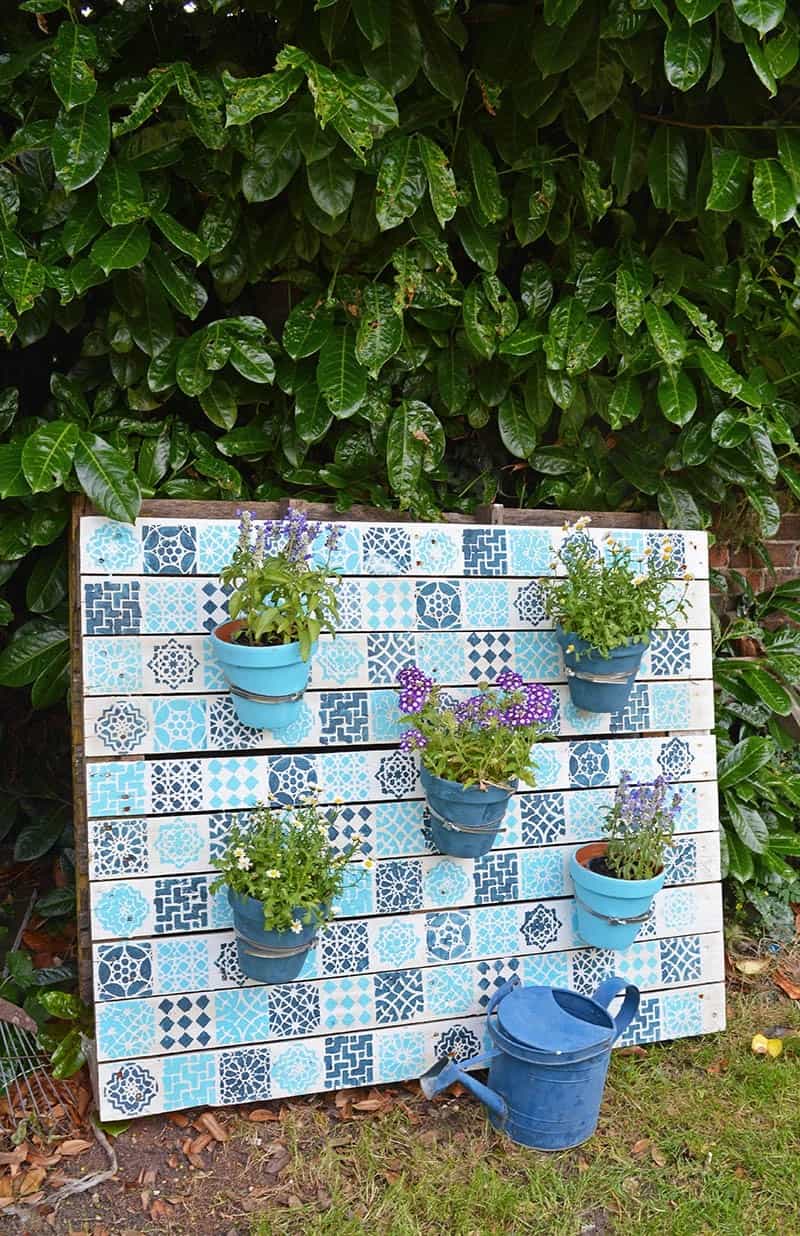
Paint a Pallet and Transform it Into a Stunning Moroccan-Style Plant Wall from Pillar Box Blue
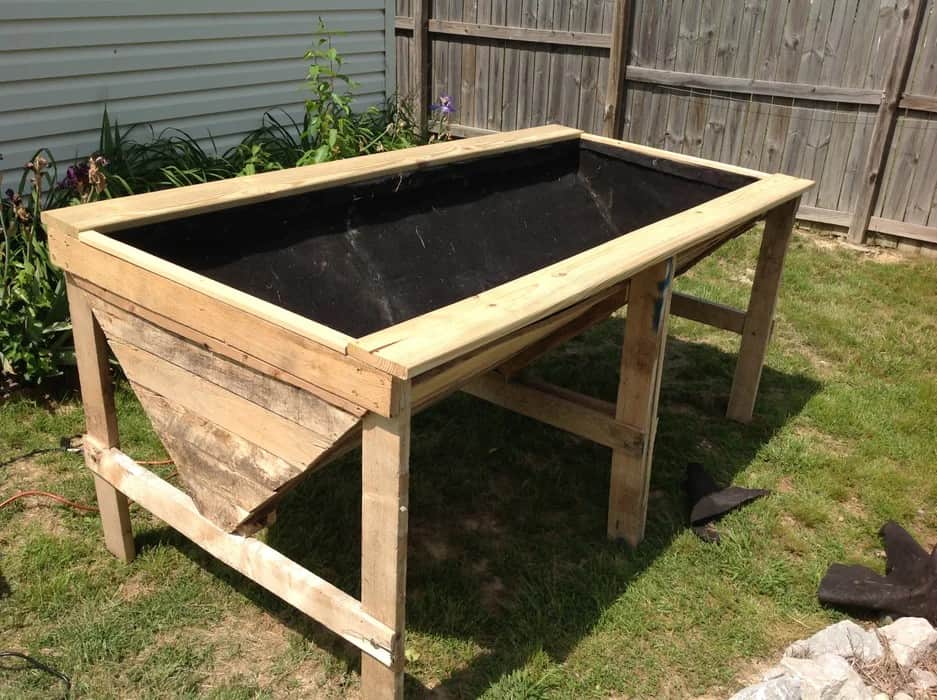
Wood Pallet DIY Raised Planter Box from Reuse Regrow Enjoy

Raised Planter Bed From Pallets from Instructables
Pallet Patio Privacy Screen and Planter from Cassie Fairy

Triangle Pallet Planters from Lindi and Russ

Pallet Planter for Butterflies from Hello Sensible

Small Space Vertical Herb Garden from A Beautiful Mess

Vertical Pallet Herb Garden from Working House Mom Wife

Strawberry Pallet Planter from Lovely Greens

Flower Pallet Garden from DIY Show Off

Urban Herb Garden from Clutch Mov
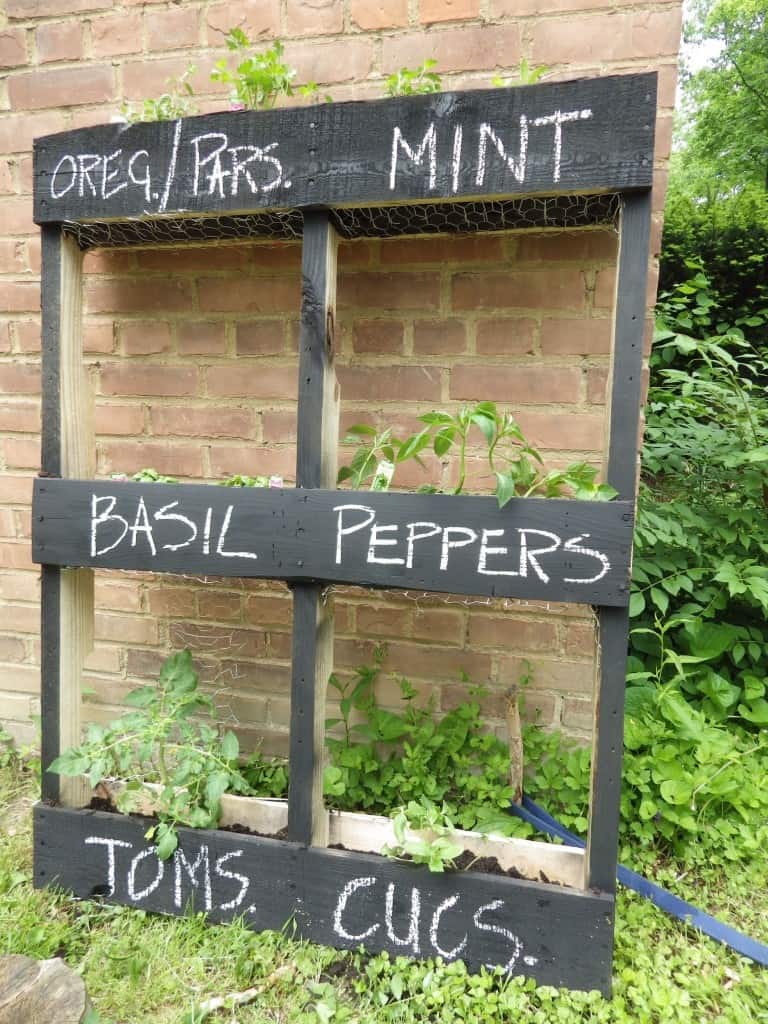
Recycled Rainbow Pallet from Hello Creative Family

DIY Pallet Garden from Hearth and Vine

Vertical Pallet Herb Garden from House To Home

Pallet Planter Box For Cascading Flowers from Her Tool Belt

Recycled Pallet Vertical Garden from Design Sponge

How To Make A Vertical Pallet Planter/Garden from Upcycle This DIY That

Upcycled Wall Gardens from Stacy K Floral

Spiral Pallet Planter – unknown source

Succulent Pallet Garden from Pinterest

Pallet Projects for Organization
DIY Rustic Wine Rack from The Kurtz Corner

DIY Pallet Coffee Cup Holder Project from Venture 1105

DIY Towel Rack with Wood Pallets from Sustain My Craft Habit

DIY Pallet Wall Hanging with Clothespins from The DIY Nuts

Easy DIY Table From Pallets from Home is Handmade

DIY Pallet Bookshelf from Jen Woodhouse

How to Make a Corner Shelf from Instructables

Feature Shelving Unit for the Lounge from Instructables

Threaded Rod Pallet Shelf from Instructables

Reclaimed Pallet Bedroom Shelving from Instructables

Bathroom Shelf Made of Pallet Wood from Instructables

Pallet Shelf from Marie Tousprix

Pallet Dog Bowl Stand with Storage from DIY Craftsy

Pallet Wood Side Table With Rustic Style from Making Manzanita

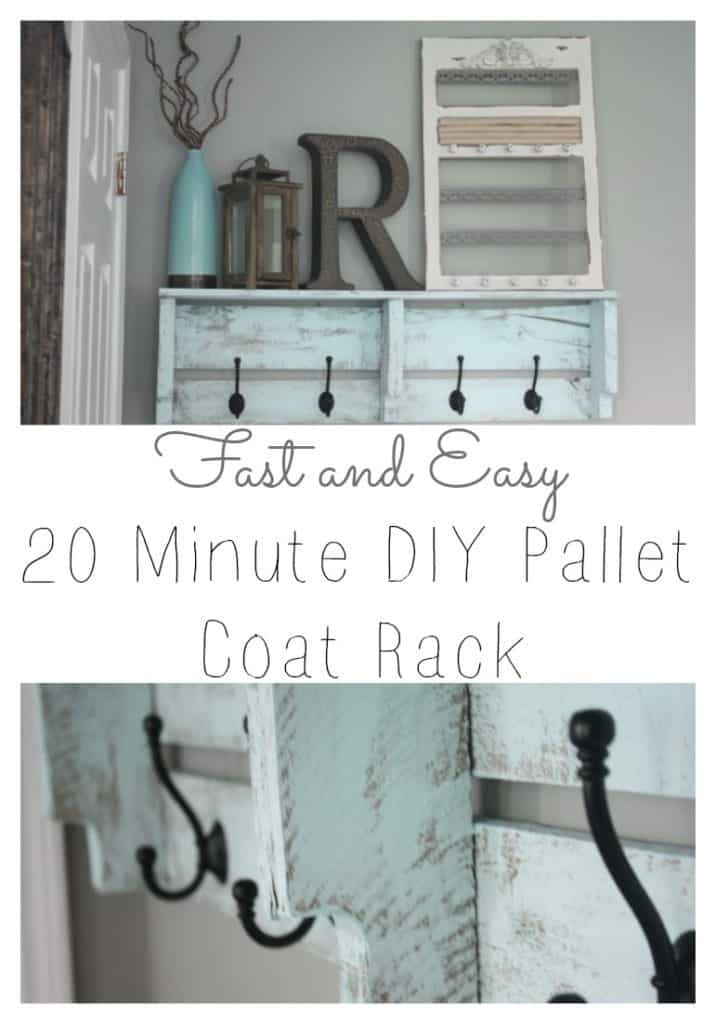
Easy DIY Pallet Coat Rack from Re Fabbed
Garden Tool Storage from Our Little Acre

Pallet Bench/Shoe Shelf from Instructables

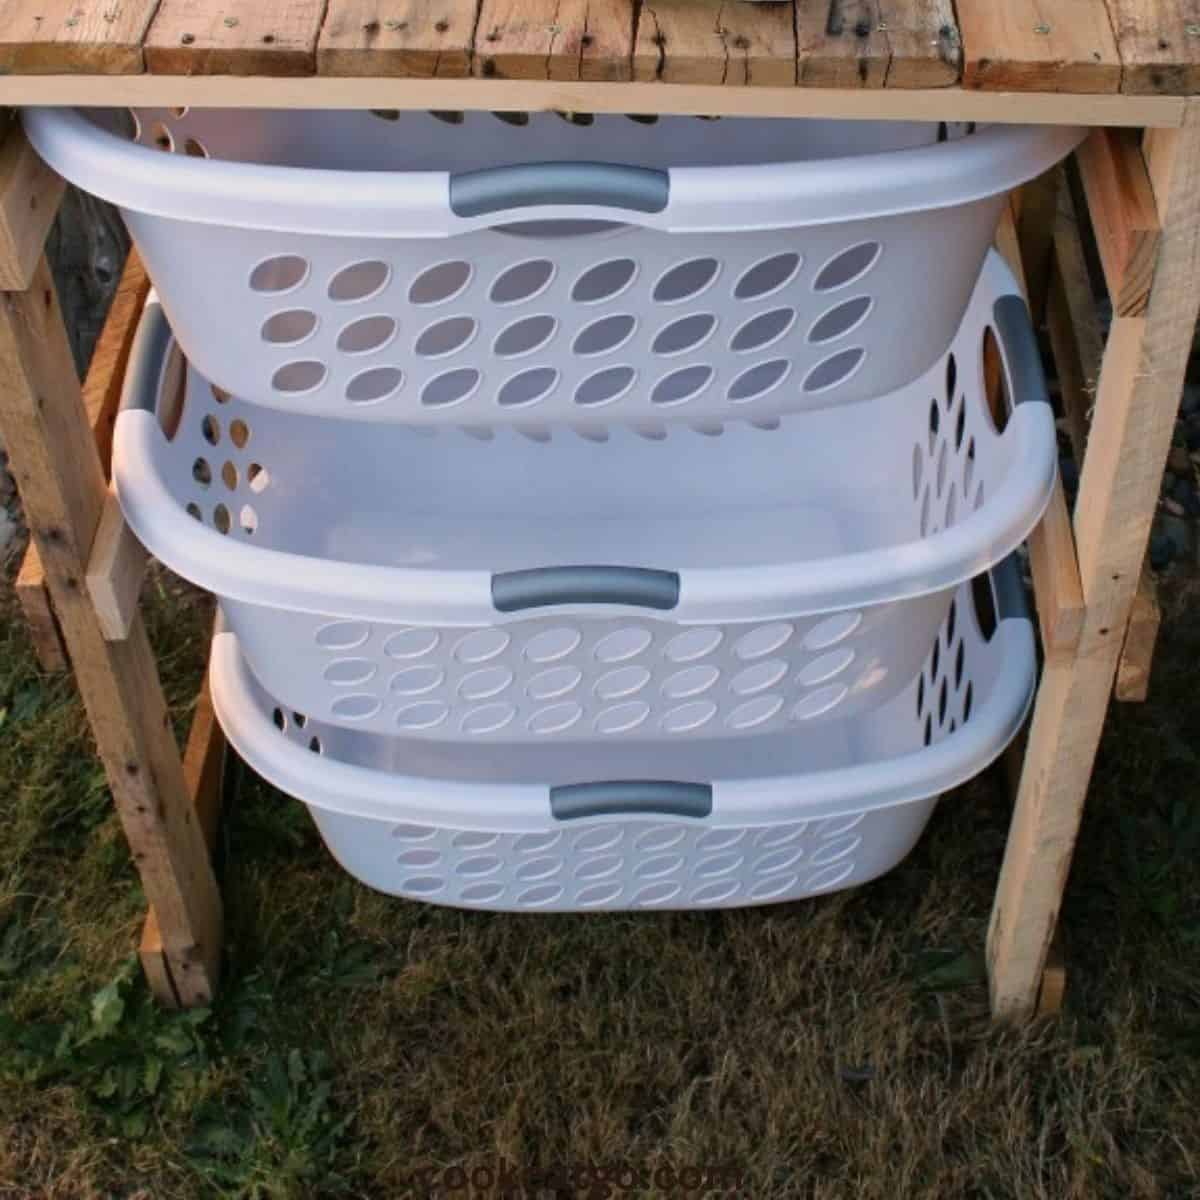
DIY Pallet Laundry Shelf from Cook Eat Go
Easy and Awesome Pallet Shelf from Instructables

DIY Pallet Ladder Shelves Unit from 1o1 Pallets

DIY Pallet Style Tool Shelf from Funky Junky Interiors

DIY Pallet Wood Shelf from West Farthing Wood Works

How To Make A Floating Pallet Shelf from Angi

DIY Pallet Rustic Wall Shelf from 1o1 Pallets

Leather Strap Pallet Shelf DIY from Leather Smith Designs
