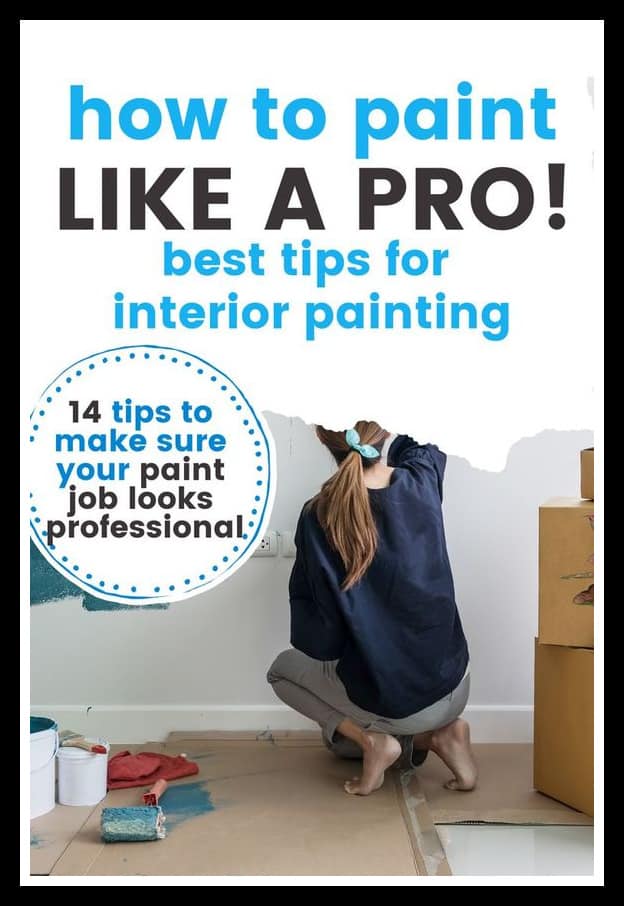


Painting your interior walls is a cheap and easy way to improve the look of your home. If you’ve been wanting to refresh your old paint but aren’t sure where to start, then this beginners guide to painting walls is for you.
This post contains affiliate links. Please read our full disclosure here.
In this beginners guide, we’ll give you professional painting tips and tricks that you can use to make your home look bright and fresh.
How should interior walls be painted (for beginners)?
When painting interior walls, preparation is key. So, before you dive in and crack open the tin of paint, it’s important that you have everything you need to complete the job. After all, the last thing you’ll want to do is drive to the hardware store with a half-painted wall.
What do I need to do before painting a wall?
There are three things that you’ll need to do before any paint touches the wall:
- Buy everything you need
- Protect the floor and furniture
- Prepare the surface to be painted
Shopping list for painting walls
To paint your interior walls, you will need:
- Paint
- Painter’s tape
- Primer
- Filler
- Scraper
- Paint brushes
- Roller
- Extension pole- these extension poles are very well made but in a pinch just use a broom handle
- Roller tray- you could get an over priced roller tray at a brand name store or you could get one from Dollar Tree for less than a dollar 🙂
- Sandpaper
- Soft-bristled brush
- Floor covering
- Gloves
- Goggles
- Dust mask
Pro Tip: Use Samplize when choosing paint colors- they are peel and stick wall samples that are hand painted to match each companies paint. No mess, clean up, no waste.
Choosing paint
There are many different types of paint which give different finishes. This guide to paint finishes can help you to choose the best type of pain for your room.
To work out how much paint to buy, you should measure the walls and carefully read the instructions on the tin. A paint calculator can also be useful to help you work out the total area to be painted, taking into account doors and windows.
If you’re unsure, it’s better to buy too much paint and return the extra unopened tin than to buy too little and have to go out and buy more when your room is half-painted. Plus, different batches of paint can have slight differences in color, so it’s wise to buy all your paint in one go.
Protecting the floor and other surfaces
Covering the floor is always a good idea when painting, particularly for beginners! You can use an old sheet or blanket, or buy disposable polythene dust sheets.
It’s easiest to paint in an empty room. But, if it’s not possible to remove all the furniture then you should move it to the centre of the room and cover it.
Masking tape is handy to keep your covering in place. You can also use it to cover light switches, electrical outlets, skirting boards and anywhere else that you don’t want to get paint on.
How to prepare walls for painting
Preparing the wall before painting will ensure that the paint job looks professional. It can also make the paint last longer. So, whilst you may be tempted to skip this step, it really is worthwhile.
The exact steps to prepare your walls for painting will depend on the current surface of your wall – whether it’s freshly plastered, or you’re painting on top of old paint.
Painting freshly-plastered walls
If the wall has recently been plastered, you’ll need to wait until the plaster is completely dry before painting. This can take around a week or longer, depending on the weather. When there are no dark patches, you’ll know the plaster is completely dry.
Fresh plaster needs a coat of primer before paint. This enables the paint to cover the wall properly. Without primer, the new plaster will soak up the paint, meaning that you’ll need to do several extra coats.
An alternative to using primer is to paint a ‘mist coat’. This is simply a coat of watered down emulsion paint – three parts paint with one part water.
You could also buy a specialist paint for new plaster. This is usually white in color, and should be used as a base coat before your desired color is added on top.
Painting walls that have been painted before
Painting over old paint is generally easier than painting onto fresh plaster, but this does depend on the condition of the walls. Walls with peeling paint, stains and cracks will undoubtedly require more prep work than already-smooth walls.
Here’s a step-by-step guide to painting over old paint:
- Wash the walls with sugar soap
Washing the walls will remove any dust or grease. Whilst this step isn’t essential, it’s highly recommended if you wish you paint to have that professional-looking flawless finish.
Sugar soap is a harsh chemical which can irritate the skin and eyes, so it’s important to wear gloves and goggles for this step.
After you’ve washed the walls, be sure to allow time for them to dry.
- Fill any holes, gaps or cracks
To create a smooth surface, you should fill any cracks or gaps in the walls with filler. Apply a small amount to your scraper and push it into the hole in the wall. Scrape off any excess, but leave the area slightly raised.
Allow the filler to dry completely for the time specified on the label. Then, sand the area with fine-grade sandpaper until the filled section is flush with the wall. You should wear a dust mask when sanding so as not to inhale the tiny particles.
- Sand the walls
Sanding walls before painting is needed if there is any old flaking paint. Depending on the condition of the old paint, you may need to sand the whole wall or just a section of it.
After sanding you should use a soft-bristled brush to remove any dust. It’s then a good idea to vacuum the floor so that you don’t kick up any dust on the wet paint. Don’t forget to vacuum the top edge of the skirting board as this area can be something of a dust trap.
- Paint an undercoat
If your wall is already painted in a dark or bright color, then you’ll need to use an undercoat. In most cases, ordinary matt white paint can be used as an undercoat. For very dark walls, two coats of undercoat may be needed.
If your surface has stains such as nicotine or water marks, or is chalky or powdery, then you should use a specialist primer undercoat for the best results.
If your walls are already painted with a light-colored paint and are in good condition, then you can skip the undercoat altogether and go straight to the top coat.
How to paint a room
Now that the prep has been done, you’re ready to paint the room.
Use a flat-edged screwdriver to prise the lid off the can of paint. Then, use a large spoon to give the paint a really good stir.
In what order do you paint a room?
The first areas of a room to paint will be the edges – along the skirting boards, around the door frames, along the ceiling edge and around the light switches and power sockets. In the decorating trade, this is known as cutting in.
Cutting in is best done with a medium-sized brush. Don’t overload it with paint to prevent drips. Use smooth and steady strokes to create a straight edge.
Some people like to use masking tape for cutting in, but if you have a steady hand it can be quicker and easier to just paint the edges freehand. Or if you’d like to skip both those options, you can use a paint edger. Paint edgers work well but be careful not to overload them with paint or you’ll have drips.
Pro tip: If you accidentally get wall paint on the ceiling, wipe it off quickly with a baby wipe.
Once you’ve done the cutting in, you can use a roller to paint the main parts of the wall.
You should make sure that you don’t leave too much time between painting the edges of the wall and the middle. The edges should still be wet for the paint to blend together. For large rooms, you might want to do one wall at a time – the edges, then the middle – before moving on to the next wall.
How to paint a wall with a roller
Rollers are better than brushes for painting large areas as they are faster and provide more even coverage.
- Wash your roller sleeve in water to remove any fuzz
- Fit the roller to the frame
- Pour paint into the reservoir at one end of the roller tray
- Dip the roller into the paint and roll it in the tray until its covered
- Roll the paint on to the wall, using a mixture of up, down and diagonal strokes
Pro tip: If you need to take a break, wrap the roller in Saran Wrap to keep the paint from drying on to it.
How to paint a wall with a brush
To paint a large area with a paint brush, you should ensure that you have a suitably large brush. This will need to be much larger than the small brush that you use for the edges.
- Fill the brush by dipping it into the paint until the paint covers about half-way up the bristles.
- Tap the brush lightly against the side of the can to remove any excess paint and prevent drips.
- Start at the top and work down, painting with light, even, up and down strokes.
- When you have painted an area of about 18” x 18”, apply horizontal strokes to even out the paint.
- Finally, apply more light vertical strokes before moving on to the next 18” square.
How to paint a room with two colors
Painting a room in two harmonious colors can create visual interest and allow you to use bold colors that might be too much if used for the whole room.
There are various ways you could divide the wall to achieve a two-tone paint effect:
- Horizontally – Use a darker shade on the lower half of the room
- Vertically – Use the corner of the room as a dividing point or split a wall in half
- Diagonally – Create a striking accent wall by diving the colors diagonally from corner to corner
- Stripes – Horizontal or vertical, wide or narrow; there are many options for striped walls
However you choose to divide the wall, you’ll need to follow these steps before you start painting with two colors:
- Use a measuring tape and a pencil to mark both ends of the dividing line
- Check that your line is perfectly straight with a spirit level
- Use a pencil and a long piece of wood to mark the full length of the line
- Stick masking tape along the pencil line
Pro tip: Score the outer edge of the tape with the dull side of a small knife to prevent the paint from bleeding underneath.
- Paint one color and allow to dry
- Paint a second coat of the first color and allow to dry
- Carefully remove the tape at a 45-degree angle
- Reapply fresh tape on the other side of the line
- Paint the first coat of the second color and allow to dry
- Paint a second coat of the second color and allow to dry
- Remove the tape
How to paint a room fast
Painting interior walls can be time consuming. Whilst it can be tempting to skip some steps, if you’re not careful, this can actually make the whole process take longer.
For example, if you skip covering the floor and then get paint on the carpet, that can take many hours of scrubbing to get out!
This video has some interior house painting tips and hacks which should make the whole process of painting your room faster and more efficient…
Conclusion
After reading these basic painting tips you’ll know that preparation is the key to achieving perfectly-painted walls. Spend your time doing the right prep work and you’ll find the actual painting to be much easier and you’ll achieve better results.
Painting interior walls is actually one of the easiest parts of home renovation. So rather than paying a premium for a professional decorator to paint walls for you, homeowners on a budget should definitely give it a go themselves.